There are many things in life, which are just plain better homemade. Beef stock is one of them. Tim and I love to come home to find our apartment smelling delicious as chicken stock simmers away.
Homemade stock is healthier since there are no extra preservatives and exactly as much salt as we want.
When we use produce from our garden it’s locally grown and (mostly) organic. In the end, all the nutrients from the veggie end up in the broth and ultimately in us. We find making stock is a great way to use kitchen scraps, as we don’t have a way to compost in our apartment.
Here is our simple method for homemade stock in the crockpot.
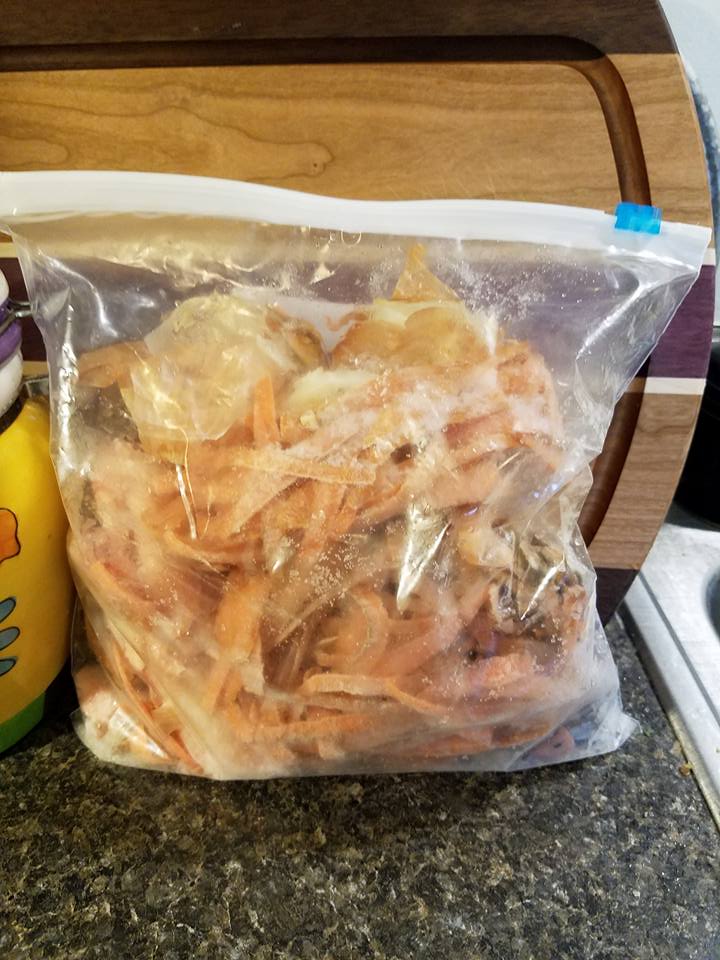
- Save Scraps: When you peal carrots, onions, potatoes, tomatoes, celery, kale, turnips, etc throw the scraps, peels, cut ends and tops into a container in the freezer. Carrot tops too!
- Save Bones: When you make meat with bones, save the bones also in the freezer. Include gizzards and neck from full thanksgiving turkeys.
- Crockpot it: When our gallon bag of veggies scraps is full we dump all this into our crockpot. (I use this one.)
- Vinegar: Add vinegar if you added bones to help the nutrients come out. (Or so "they" say.)
- Add water: Add water to fill the crockpot. (I use this one.)
- Cook: Cook on low for 24 hours for chicken bones and 48 hours for beef bones.
- Add Salt: When finished, strain and season to taste. Remove excess fat is desired.
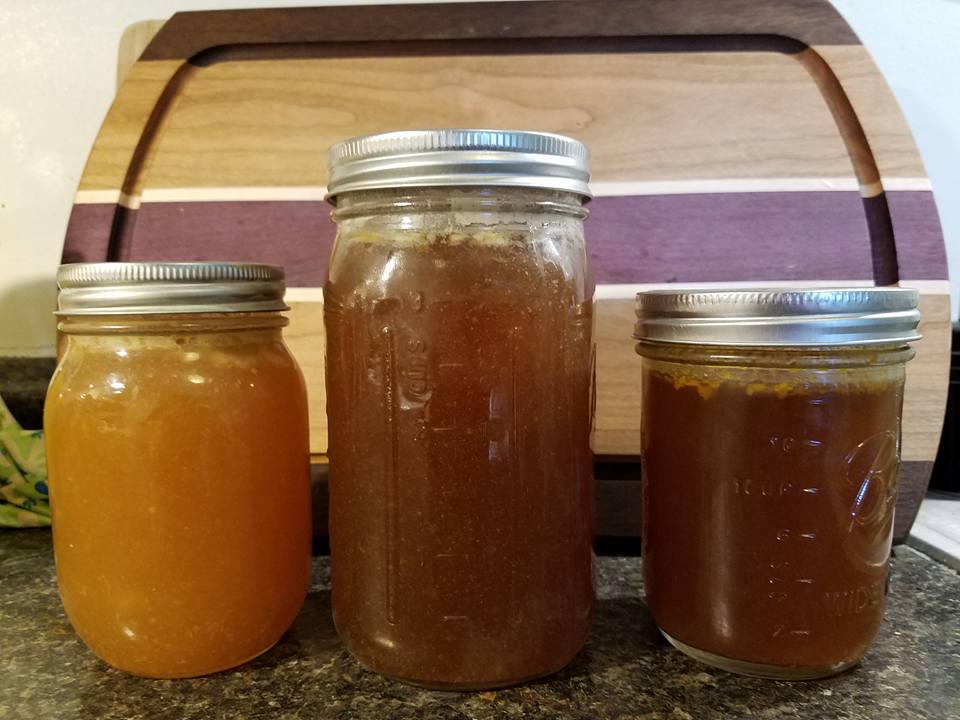
Your broth is complete!
- Use: From here, you can use it right away or preserve it for later.
- Save: We used to freeze the broth in containers until we learned how to use a pressure canner. (Note: You must pressure can broth, it is not safe to water bath can.)
- I have a pressure canner similar to this one that I use regularly.

The Real Recipe
Ingredients
- 2-3 lbs of assorted vegetable scraps
- 1-2 lbs of Bones of chicken, beef, venison, etc
- 2 glugs of Vinegar (apple cider or white)
- 1-1.5 gallons Water
Put all ingredients in the crockpot, fill with water. Cook on low for 24 hours for chicken or veggie stock. Cook on low for 48 hours for beef stock. Strain then enjoy, follow my lead to pressure can or freeze.

Note: Depending on your mix there may be lots of fat floating on top. I will often remove most of the fat (and save for soap) before canning. I do leave some fat in each jar because it’s tasty. Also, if you add kale it will turn this fat green, which may be slightly unappetizing even though safe and healthy.
The Stats:
I make stock in my 6 qt slow cooker every 4-6 weeks. I usually end up pressure canning 8 pints (or 4 quarts). Any stock is processed for 20 minutes for pints, 25 min for quarts at 10 lbs of pressure with 1” of headspace. I generally get 0-2 cups of fat depending on the mix.
Ready to pressure can?
- Read about the procedure for pressure canning in my tutorial: Taking the Fear out of Pressure Canning.
- Make the leap and buy a 22-quart pressure canner. I love mine, and love that it gives me more options than water-bath canning. The large 22-quart allows me to use 2 layers of cans. This means I can stack 16 pints in one batch! I use a Mirro 22-quart canner. I like that it uses a weighted gauge that will never become inaccurate over time. It is also easy to find replacement seals, even thought they don't make my exact model anymore. This pressure canner is made by the same company and looks to be just as good as mine!
- The All-American Pressure canners are a tad more expensive but they don't require a rubber seal. These are a solid investment for decades to come.
Have you ever made your own chicken/veggie/beef stock? Ever add something you ought not to? Thanks for stopping by!
Hungry for more recipes?


