We may earn a small commission from any link to any products or services from this website. Your purchase helps support our work in bringing you real information about homesteading skills and preparedness.
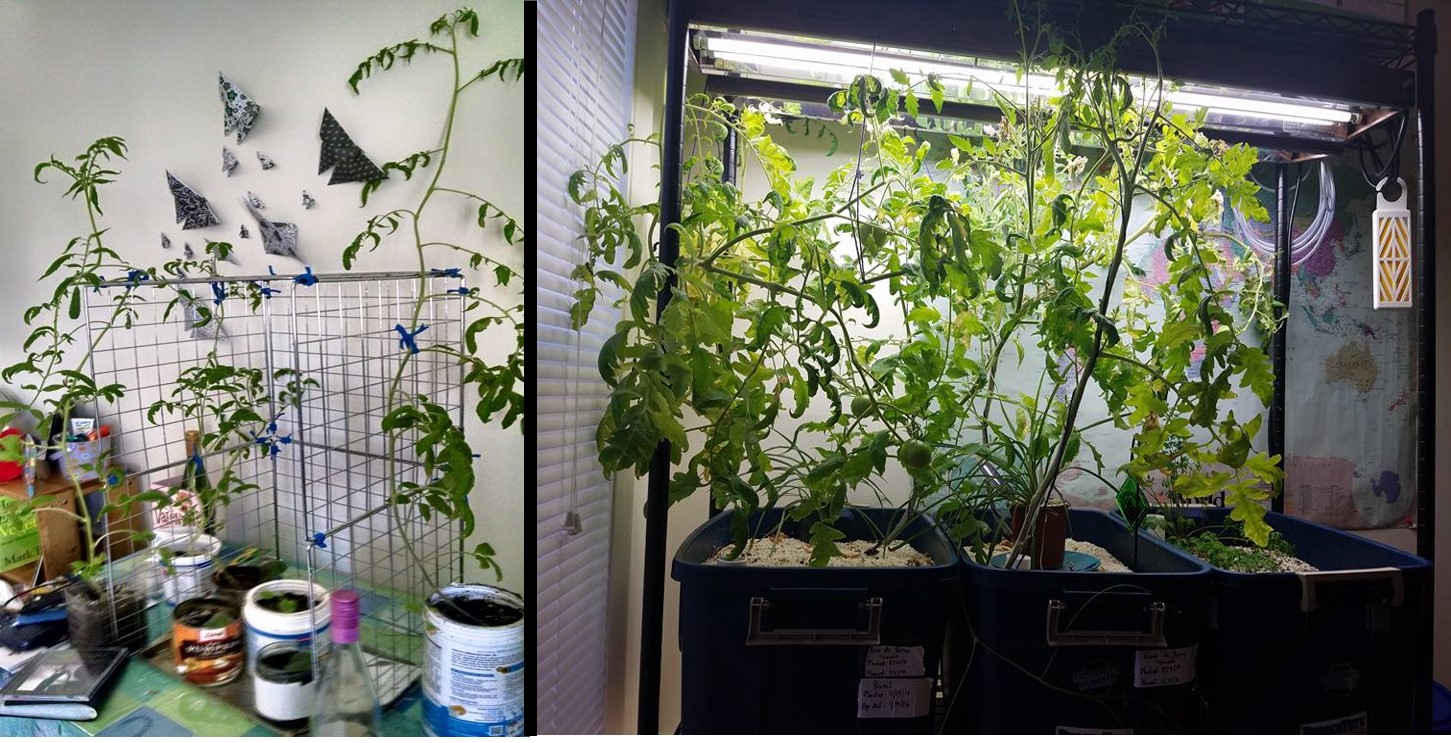
Every time I read “Grow herbs on your window sill or balcony” on other blogs, I roll my eyes. In our apartment, the designers decided to place the windows such that they never get direct sun…ever. This rules out any sort of windowsill herb garden or even container plants. Therefore, we went about construction of our own automated indoor growing system.
I may earn a small commission from any link to any products or services from this website. Your purchase helps support my work in bringing you real information about homesteading skills and preparedness.
Today I will share our indoor garden. For me this is a hobby and a learning experience to grow plants before I have land to do so. I have learned many plant lessons that will transfer to soil and many lessons that are indoor specific. As this is my hobby, it is not cost efficient (yet! Ok, maybe never). While this is a hobby, I also have measurable goals:
- Automate the system with pumps and timer to minimize daily time requirements.
- Match outdoor growing expected maturity and fruiting dates.
- Document a reproducible method for apartment growing.
When thinking about building an environment for plants, all the natural elements need to be replicated: water, wind, sun, soil, and nutrients. The first time I thought about growing indoor, I just sort of found some old pots and threw some store-bought tomatoes in and watched as they grew oddly, in gangly non-productive vines. The second time around, I planned to do it right which meant buying real grow lights and setting up a whole rack for them.
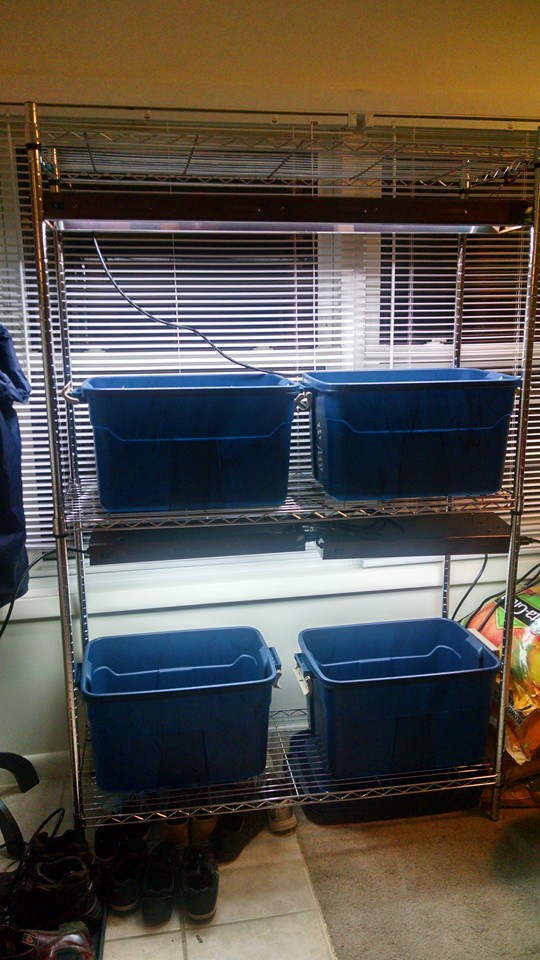
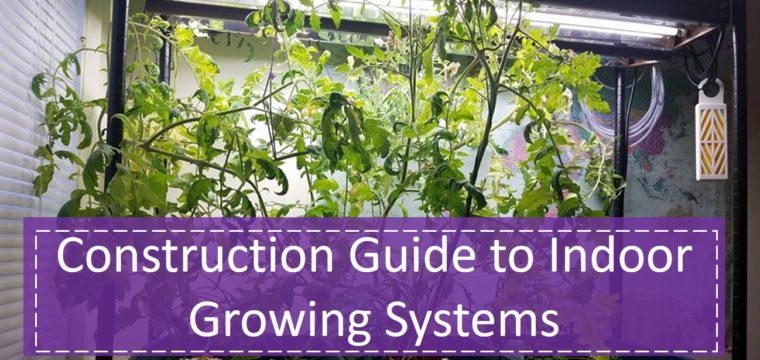
Construction: I have a 60"x 48"x 16" foot metal shelving rack that was sold with 5 shelves from Lowes. I installed 3 shelves as I wanted two levels of plants. I have played around with the heights depending on what I am growing. Shorter for carrots, seedlings, and herbs. Taller for tomatoes and pole beans. I can fit 6 blue bins, with 3 on each shelf. These are 14-gallon heavy duty bins. I usually am not growing at full capacity as I was experiencing some shading out from leafy plants. My lights clip right to the shelves, 4 bars per level in 2-bar units.
Water: As I wanted to not have to water the plants every day, I decided to go with a self-watering bin. I build a platform in each bin so there could be a water reservoir in the bottom. Inset into the platform was a plastic container fill with dirt that wicks the water up as the plant needs it. This way, when the bottom reservoir is empty you add water and your plants survive without constant attention.
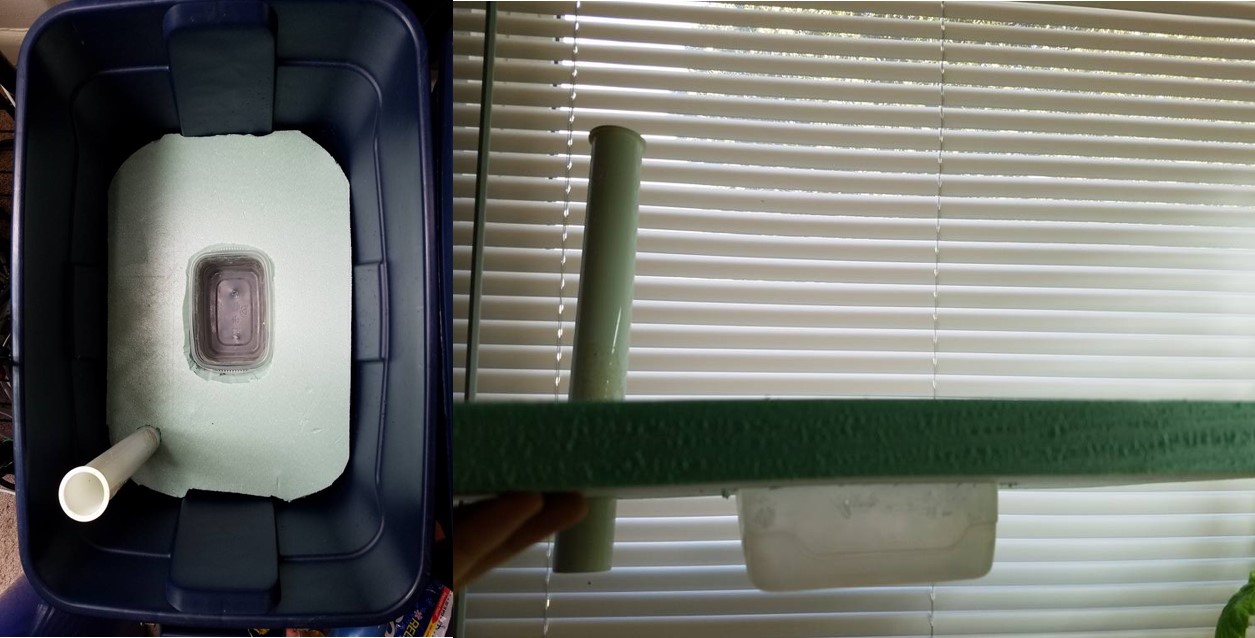
Watering Time: We end up having to check and fill the bins every week. Water consumption depends on the stage of the plant; seeds don’t drink as much water as full grown tomatoes who may need 2x a week refill. I added a section of PVC pipe to add the water and check the levels. (This is actually some part of a toilet and was found in the pumping section in pre-cut 12” sections.) I plan to upgrade this watering system to a water reservoir and pump system later.
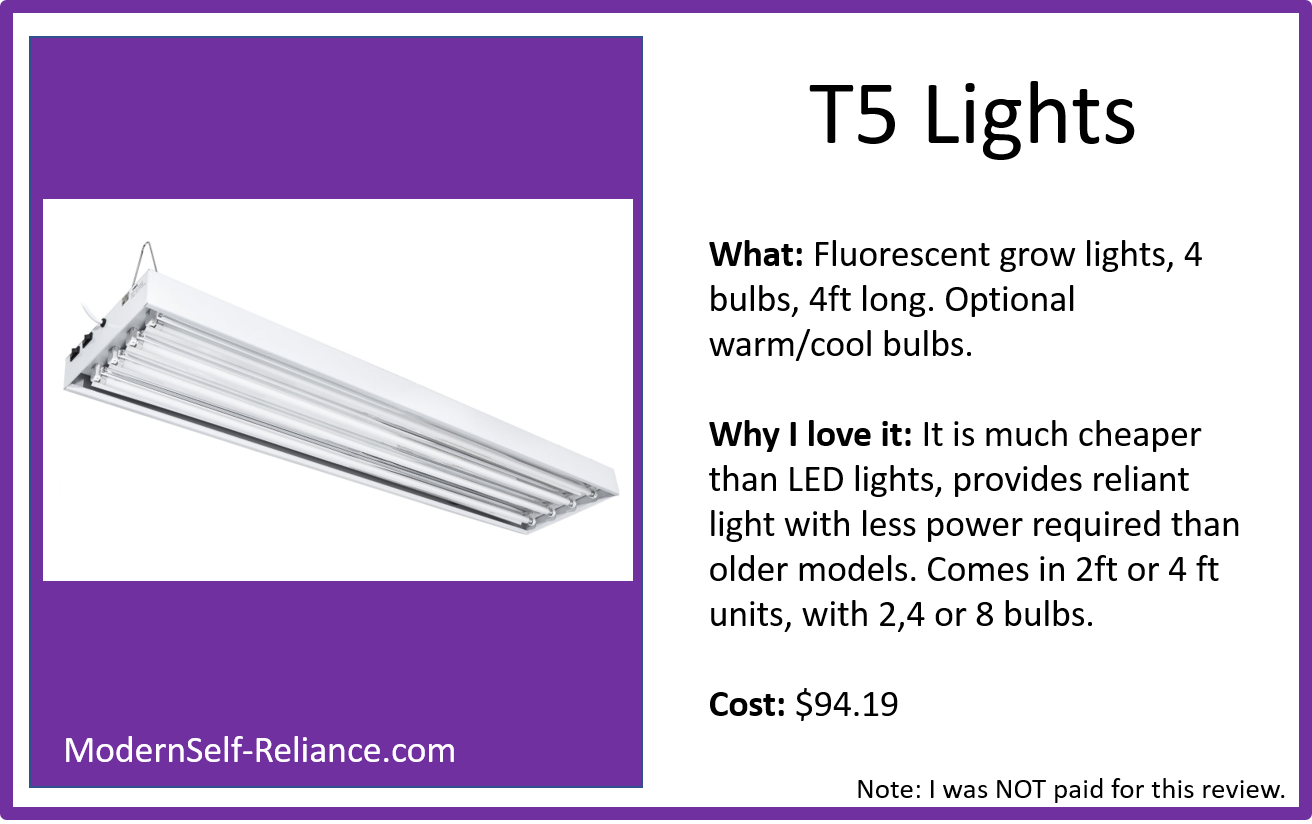
Sun: I wanted to do right by my plants so I went to my local hydroponic growing store (http://www.greenlifegardensupply.com/) and found full spectrum bulbs that more closely replicate sun beams than the standard compact fluorescent. We first started with 2 bulbs per row, but found they needed more light so I upgraded 4 bulbs per level. As we are trying to replicate the sun, you will need all the help you can get. We use the T5 grow light system shown below. These lights will need to be on timers (we use this timer), as different plants require different amounts of time during different stages of their growth. This also automates the lights, so you will never forget to turn them on.
Wind: Airflow is important to prevent plants from rotting and to strengthen the stalks. This is also especially important for plants destined to be transplanted outside. A simple fan on a timer can accomplish this easily.
Soil and Nutrients: As these plants are confined to the container, they are also confined to the nutrients you add. I suggest good potting soil and fertilizing every few weeks. Your plants will only be as nutritious as the nutrients they have available. A good start for apartment dwellers without the means of composting is the standard miracle grow for plants. (While this is not “organic”, it has documented success of giving the plants what they need. It is also concentrated so it doesn’t take up too much space, doesn’t smell (like manure), and doesn’t require attending to like worm composting.)
Start-Up Cost:
- Lights: $87 x 4 = $348
- Timers: $10 x 3 = $30
- Bins: $8 x 6 = $48
- Dirt: $11 x 4 = $44
- Shelving: $60 x 1 = $60
- Foam: $ 2 x 6 = $ 12
- Water Pipe $1 x 6 = $6
- Total: $988
Now for actually growing plants! This is the exciting part, choosing which plants to grow and planting seeds. It is always recommended to grow plants you actually eat. While lettuce is easy to grow; if you don’t eat it, don’t grow it. I would recommend starting with herbs like basil, cilantro, or parsley. These plants don’t require flowering and fruiting to get a useful product. They have a high cost margin as you can grow tons in a small space and dry or preserve excess. Fresh herbs can be very expensive as the store, and nothing beats fresh cut herbs. However, on the other hand we enjoy growing carrots and jalapeno peppers.
While carrots are on the cheaper side in the store, I find they are easy to grow, we eat them a lot and they have a short growing period. Growing carrots has met my three goals, I have grown carrots four times now with consistent results. They grow in the 10-11 weeks listed on the packet and require very little work as the lights and water are automated.
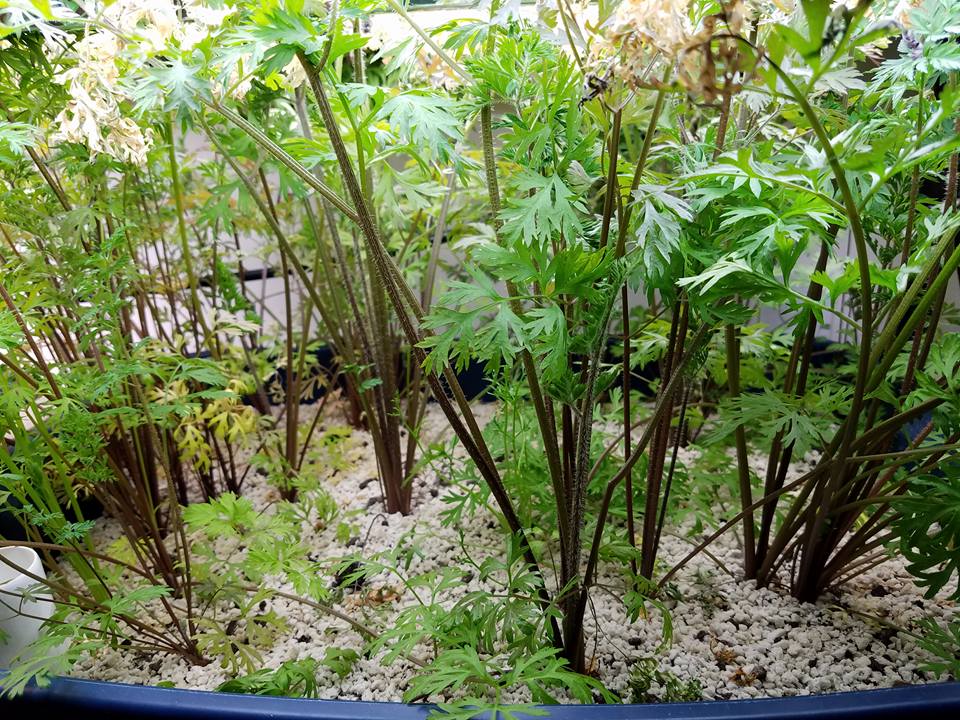
Growing Carrot Recipe
- 16 hours of light a day (cool bulbs)
- Light bulb 8” away from soil
- 12” inches of dirt
- Carrot Seeds
- 1-1.5 gal of water per week (at peak)
- 65-75 degree air temperature (aka room temperature)
Instructions
Scrap some dirt to the side, and sprinkle carrots seeds over the dirt. Cover seeds in a light layer of soil. Pour water on top to moisten the seeds. Fill the bottom reservoir with water (if using self-wicking pots). Set the light to be 8” away from the soil, but high enough to cover the whole area. Set the timer for 16 hours a day. Set your calendar for 11 weeks out.
Check and refill water as they grow. When a few inches tall, thin the carrots to a spacing of 1.5-2” or so.
The plant may grow up into the light and burn their tops. I am not concerned about this, it does not kill the plant nor set fire to my apartment. The burned tops only makes them less attractive to look at, but the moving the light bulbs further away may mean they don’t get enough heat and light.
In 11-12 weeks enjoy fresh carrots you grew yourself!
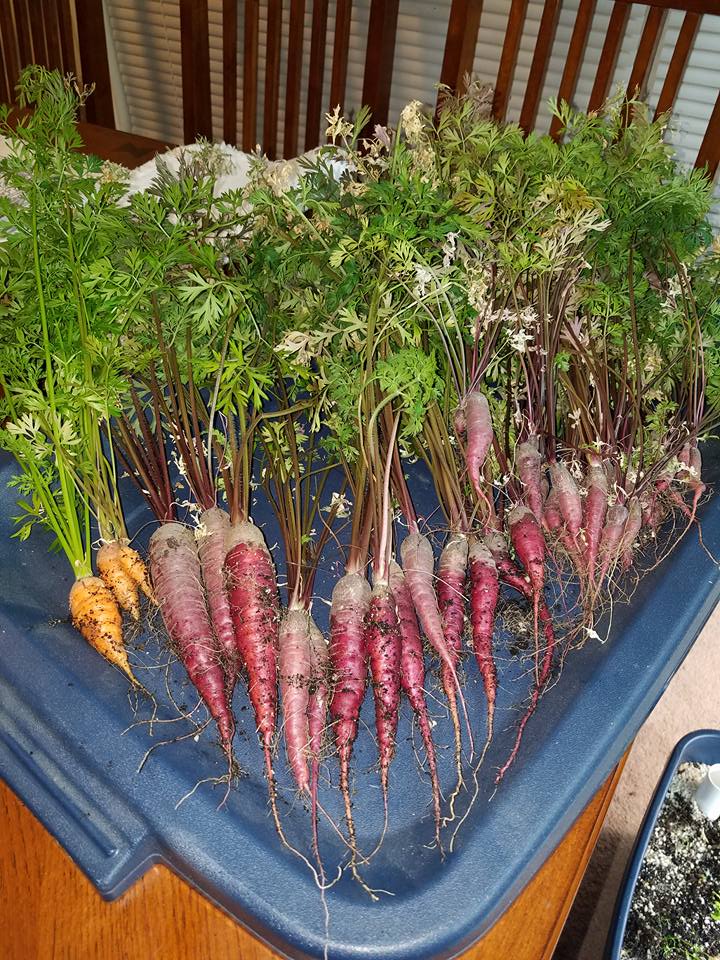
Yield:
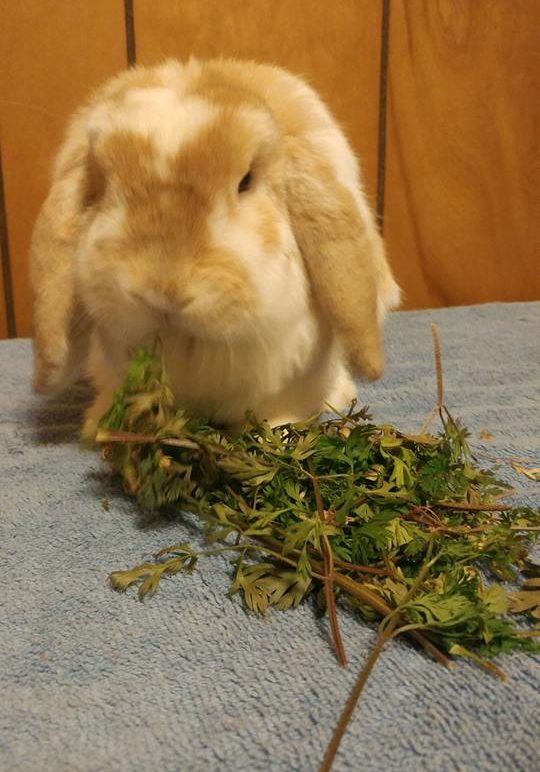
In my 14-gallon blue bins, approximately 12”x16”, we grow approximately 1 lb of carrots. (Give or take a bit based on germination rates and root development.) The carrot tops are used for broth and as treats for my sister’s bunny, Felix.
Have you ever attempted to grow inside? How were your first attempts?
Related articles:
- Fitness: Working Out as Physical Preparedness - February 22, 2021
- Backpacking or 72hr bag meals - December 23, 2020
- 8 Security Concerns for a New Home - October 28, 2019

I love it! Thought I was the only crazy trying stuff like this – lol. About 17 years ago (before it was cool) I set up a 14 x 26 area in the basement – my first attempt at indoor farming – and I tried it all. I cant say my success rose up to meet my heart’s desire, but I’ve always got something growing indoors. Thank you for sharing.
Gab,
Yup, I could grow some stuff but my tomatoes always were smaller than the outdoor ones. But I got edible plants!
~Lauren