Tim and I (Lauren) love beans. Black beans, baked beans, chickpeas, pinto beans, white beans: we love them all.
About a year ago, we made the switch from canned beans to cooking our own dried beans and never looked back.
We had a few reasons to make the switch:
- Dry beans are healthier than canned beans (because we know what’s in them).
- Dry beans are cheaper than canned beans.
- Dry beans produce less waste (no metal can to recycle).
- Dry beans cooked fresh taste so much better!
There are many ways to cook beans out there on the internet and many of them recommend soaking dried beans the night before. “They” claim it reduces cooking time, which I have not found. “They” claim it reduces gas, but there is no science on this.
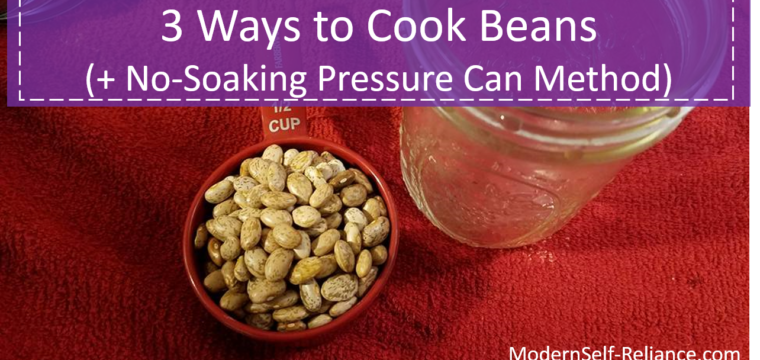
I have a feeling most people soak their beans out of tradition. I feel pre-soaking is a waste of time and results in a mushier bean. Here are 3 ways to cook dried beans without pre-soaking:
Number 1: Simmer on the stove.
Check your beans for dirt, sticks, stones, etc. Add 2 cups of cold water for every 1 cup of dried beans to a pot on the stove. Add your favorite spices and flavoring.
Simmer covered for 2-2.5 hours. Stir occasionally. When making black beans, we will add bacon, salt, pepper, chili powder and cumin to the pot as it cooks.
If the beans come to a boil too fast it will result in the skins peeling off. You can enjoy them right away, refrigerate then or even freeze the beans in small containers for later.
Number 2: Simmer in a crockpot.
This method is similar to simmering on the stove but instead put the beans and water into your crockpot. (My much-loved crockpot.)
Simmer on low for 4-5 hours or on high for 2-3 hours. This is good for making large batches of beans or making beans while you are away.
Number 3: Pressure canner.
We prefer to make beans in our pressure canner because it cooks the beans in the can and seals it at the same time. (Ours is similar to this pressure canner.)
In the end, we get the taste of fresh beans, seasoned ourselves but the convenient of pre-cooked beans. The recipe nearly the same as the stovetop beans, but cooked in the canner. I use wide-mouth jars because they stack better than regular mouth canning jars.
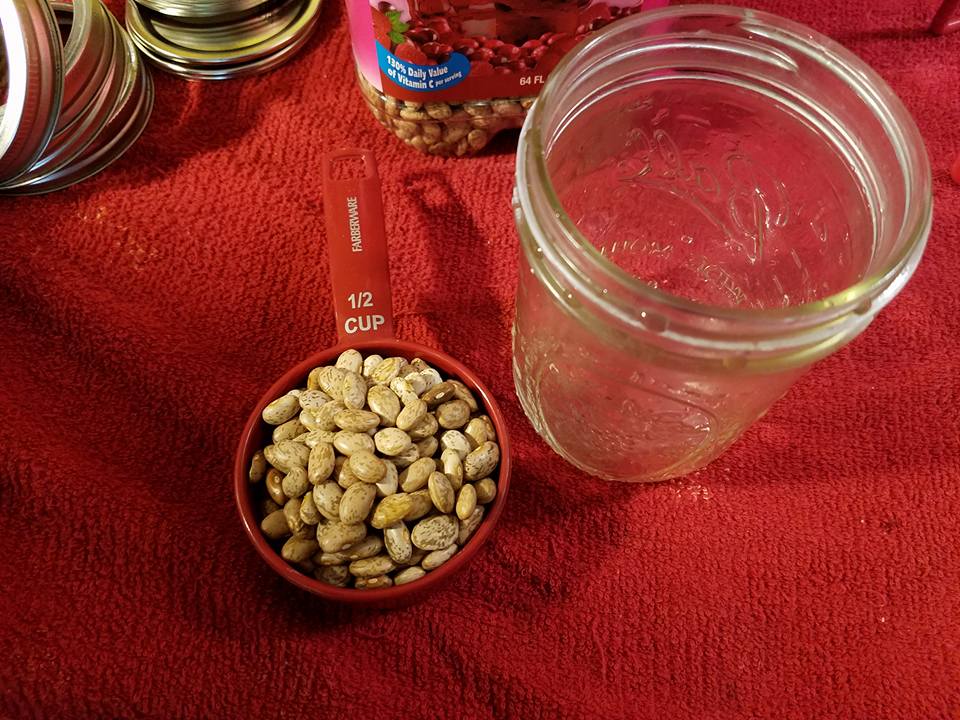
As you start to bring the water in your pressure canner to a boil. Add a mounded ½ cup of beans per pint jar. Add spices then fill the remaining space with warm water.
If the water is too hot, then it can cause the skins to peels off. Leave 1” of headspace. If making in quart jars, add 1 mounded cup of beans but still leave 1” of headspace.
Place the lid and tighten the band to be “finger” tight. Return jar to the canner. Bring the canner to a boil and continue as normal for any other pressure canning recipe.
Process pints for 75 minutes and quarts for 90 minutes at 10 lbs of pressure. (Not sure how to pressure can in general? Check out my post on instructions for easy pressure canning.)
Lastly, now you are ready to enjoy your homemade beans, how the heck do you open the jar?
- Remove the metal band.
- Put a rag over the top of the can, and grip the can from the top. Do NOT grip the can like you are opening a jar of pasta sauce on the side.
- With a butter knife (not a sharp knife), find a spot on the jar where the lid hangs out slightly. There will be easier and harder spots to open from.
- Wedge the knife up under the seal and twist gently until you hear the seal break and air is sucked in.
- Remove the rag and you should be able to lift off the lid.
Why do I recommend this method? When your knife to breaks the seal the pressure from the knife is upwards. If you do not have your hand on the top of the jar, when you break the seal, the lid is also under pressure and it will fly (!) off your can, splattering the contents everywhere.
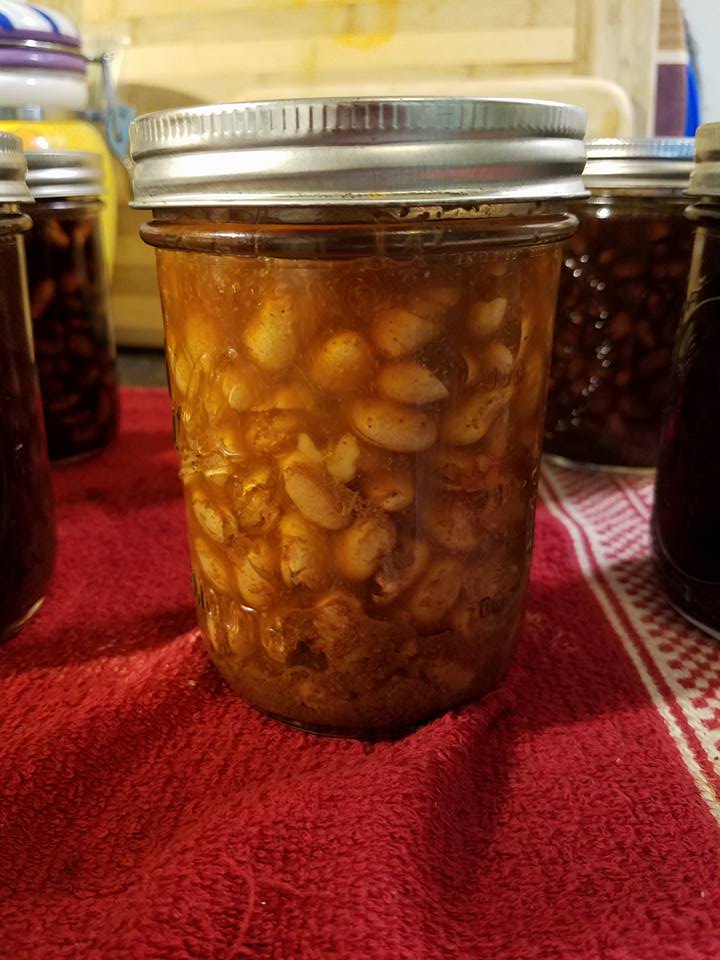
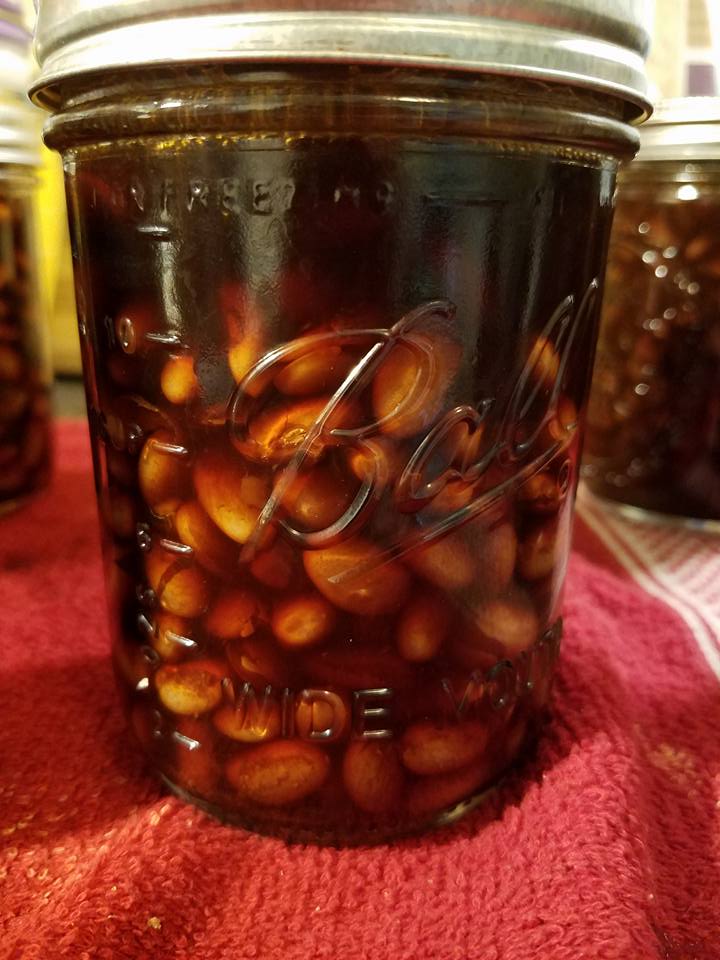
We love our homemade beans. I often pressure can 8-14 pints at a time, giving us a good supply for the weeks to come. This way, it has little impact on our normal cooking routines.
What works for your family? How do you like to spice your beans? Have you ever tried cooking beans without pre-soaking?
Related Articles:

