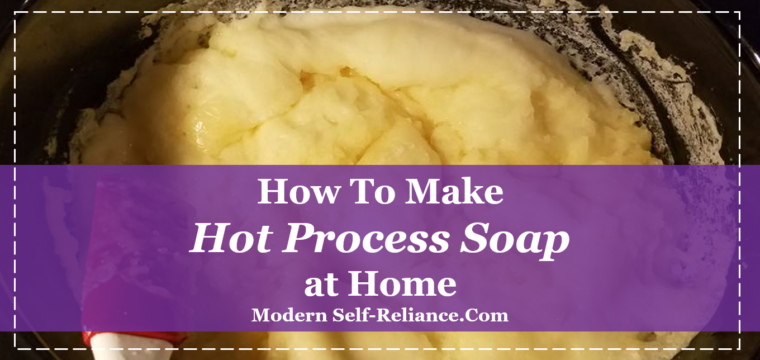
Learning how to make hot process soap is not difficult. In fact this ancient process of soap making goes back centuries. I have talked about cold process soap before (10 Simple Steps to Making Cold Processed Soap (+2 Easy Recipes)), but another option is to hot process soap.
All soap is made from a fat and lye. The resulting soap is a chemical reaction between the two called saponification. You can not make soap without lye. Some will claim you can using melt and pour methods. But really, someone else make the soap with lye, and you are just re-melting it to make a fancier soap.
Safety in Soapmaking:
Yes soap is made with lye. No lye, no soap. Lye is in drain cleaner and can be a powerful irritant on the skin. However, your stove can burn you but you still use it for cooking. Taking the right safety precautions can make soap fun and easy for the home soap-maker.
- Wear gloves. This is a non-negotiable part of making soap. You don't want lye on your skin, and gloves protect your hands.
- Wear safety glasses or goggles. You don't want lye on your skin or in your eyes. Pretty simple. Just wear it. Get them here.
- Keep pets and small children out of the work-space. Also seems obvious but unless they are also wearing gloves and safety glasses they should not be near the soap-making supplies.
- Good ventilation. When mixing the lye with water there will be gases released. This gas can give you a headache. Therefore, mix the lye outside or near a window. Mix it on your stove-top under the hood with the fan on, or have a fan in your window. Just keep the air moving so you don't gas yourself while attempting soap.
- Watch for burns. You will need to mix the fats while they are liquid, so if the fat is normally solid at room temperature you will need to heat it up. When mixing the lye with the water, it will create heat in an exothermic reaction. The container will get very (+150 F) hot, so make sure not to touch it.
- Avoid aluminum. Do not use aluminum utensils or bowls or molds. The lye will stain or effect the metals, rather use stainless steel bowls for mixing.
- Vinegar. Keep vinegar handy when dealing with the lye. Vinegar will neutralize an lye spilled on a counter. However as Michelle in the comments mentioned, do not put vinegar over lye on your skin. If you get lye on your skin, flush with cold water and Michelle also recommends coconut oil afterwards to help heal and protect the skin.
- Watch the ratios. Making soap is chemistry, you need to make sure there is enough fat to react with every lye molecule. If you have too much lye then you will have extra lye left over and the soap will be really drying and may even burn your skin. If you have too much fat leftover, your soap will be very greasy, not what you want for soap. Depending on what you plan to use your soap for, will depend how much fat you want left-over. The fat will add moisture and make a nice lathering bar for skin, so you can super-fat your soap if you have dry skin. However if you plan to use your soap for dishes, then you don't want any left-over fats there. A soap calculator like this one will tell you how much lye to add depending what % fat you want left over.
With cold process soap, the chemical reaction to turn the fat and lye into soap is not complete when you pour it into the molds. However when you add heat to the process, it speeds up, and completely becomes soap before you pour it into the molds. This is chemistry folks, remember in high school where heat is a catalyst for reactions. (Sorry if mentioning high school brings up bad memories.)
Hot process soap is no harder than cold process soap just takes a little bit more time.
Tools for Hot Process Soap:
Each tool mentioned, I link to the product I use. I recommend them because I use them and they work.
- Crockpot (slow cooker - I use this one) Over time the lye will etch the crockpot, so if you plan on making many batches get a dedicated crockpot. If you only plan on making a few batches, don't worry about using your normal cooking one.
- Dedicated soap thermometer.
- Kitchen scale.
- Soap molds. (I use either old plastic containers or this bar mold)
- Glass or stainless steel mixing bowls.
- Safety gear: gloves, safety glasses, vinegar
- Immersion blender. The fats and lye need to be mixed very well. You can mix by hand (not recommended) but this will take a very long time. You could use a hand mixer or stand mixer but this also will take a bit of time. I highly recommend an immersion blender for this step. It will take you from 2 hours of mixing to 10 minutes!
Ingredients
- Fat: You can use almost any fat or oil you desire to make soap. These can be bought at your grocery store, specialty shops online or in bulk. You can also render your own fat from cooking or from cut fat from the butcher. See how I render my fat: 2 Ways to Render Fat for Soapmaking. This is a place where expensive oils can increase the price per bar of soap.
- Lye: I could link you to Amazon and make a commission when you buy Lye, but the cheapest Lye I have found is at BulkApothocary.com so go there, my conscious can't let you pay more than you should. Downsize there, is the minimum purchase is 8 lbs of Lye but at ~$2/lb.
- Water: Any household water will do.
- Optional: Fragrances, coloring, exfoliants. You can make a rose-colored, lavender smelling bar with coffee grounds to exfoliate your skin, if you like. I choose to keep my bars as cheap and raw as possible. These extras can increase the cost per bar greatly.

Steps to Hot Process Soap:
- Calculate the amount of lye you need for your recipe. Yes recipes tell you exactly what you need, however it is good practice to check the amount of lye using a soap calculator. I use this website: Mountain Sage Soap Calculator. Making soap is chemistry, you need the proper ratio of ingredients to get a good soap. Determine how much fat you desire left-over after the reaction.
- Weight out your ingredients and melt your fats. Using your desired recipe and soap calculator, exactly weight out your ingredients. This is science people, don't be afraid but be precise as you can.
- In a ventilated space while wearing your safety glasses and gloves, combine solid lye and your liquid. Pour the lye into the water.
- Do not pour the water into the lye. Why bother? Well, as you pour the lye into the water the ratio if lye to water gets more and more concentrated.
- If you add the water to the lye, it is super concentrated to start with and is slowly diluted out. This may cause an explosive reaction of lye with the water. Don't do this!
- Pour the lye into the water.
- Stir well. Set aside and allow to cool (100° F to 125° F). This is where your thermometer is important.
- Measure and combine oils. Mix gently. Once the fats and oils are mixed and melted allow the temperature to drop to 100° F to 125° F.
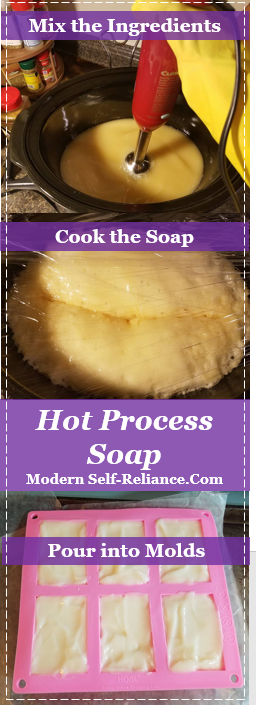
- Combine lye solution and melted oils. Be careful not to splash while combining the mixtures. You can pour directly into your crockpot if you feel comfortable using your immersion blender in your crockpot.
- Stir with your immersion blender until the mixture barely reaches traces. Tracing looks like a slightly thickened custard, not instant pudding but a cooked custard. It will support a drop, or your stir marks for several seconds.
- For hot process soap, you do not need to completely reach trace. The consistency of cake batter is good enough.
- Cook for approximately 1 hour on HIGH. Leave it alone. Don't open the lid to check, as you don't want any moisture to escape. The soap will begin to boil up on the sides and fold over. Your soap is nearly complete when the soap has completely folded over itself.
- I have seen some recipes call for putting plastic wrap over the crockpot under the lid to create a better seal. I don't recommend this. The plastic wrap melted (as expected) to my crockpot. Other options could include putting a damp towel over the lid to prevent moisture loss.
- After cooking, this is the time to add any extras you would like. The colors, fragrances and exfoliants.
- If your soap is too hard to work with, you can add a little bit of extra water to soften it up. This will not effect your final product just may take longer for the bars to cur.

- Pour finished soap into your prepared molds. After a day, the soap can be turned out of the mold. If the soap is very soft, allow it to cure for a few days to be firm the outside.
- At this point, when pouring the soap into the mold it should be completely soap. The point of cooking the soap was to finish the chemical reaction and finish saponification. No lye should be remaining, and a pH test would confirm this.
- However, if some lye remains it will finish reacting while it cures like cold-process soap. But little should remain.
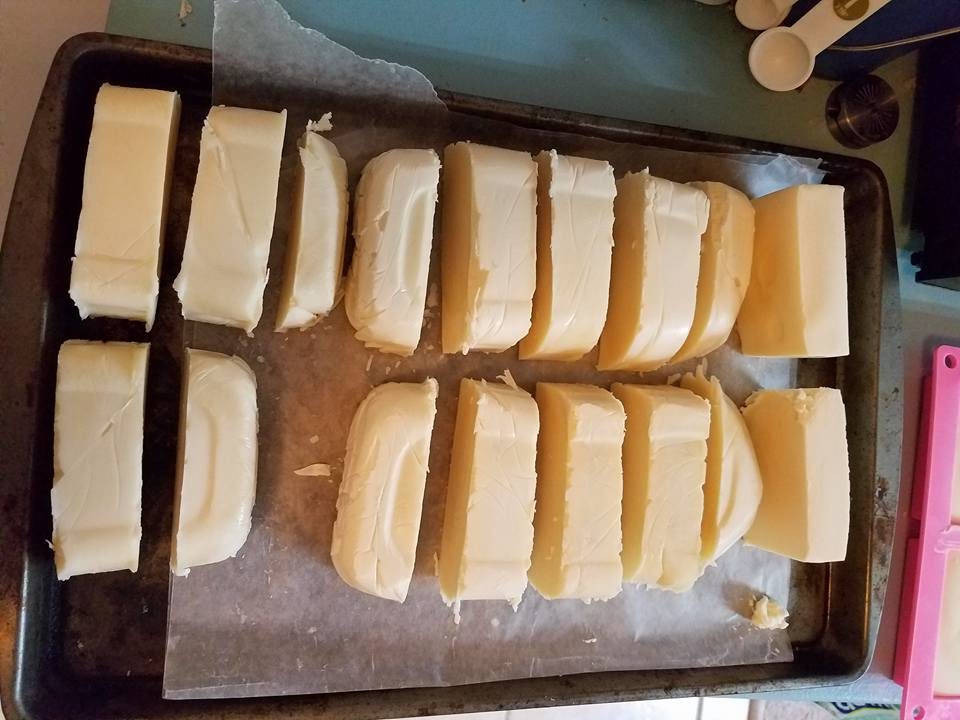
- Cut soap into bars when you take them out of the molds. A day later, your soap will be soft like fudge and should be easy to cut. Remove it from the molds and cut to desired shape. At this time, you could also press in a logo or design on the side of the soap bar.
- Set the bars out to cure and dry for one to three weeks. This will allow the bar to become firm. Hot process soap needs less time to cure than cold-process soap because it does not need to finish saponification, it just needs to evaporate the excess water. Place the bars on something that will allow them to breathe. After this period, the soap will be much harder and ready for use.
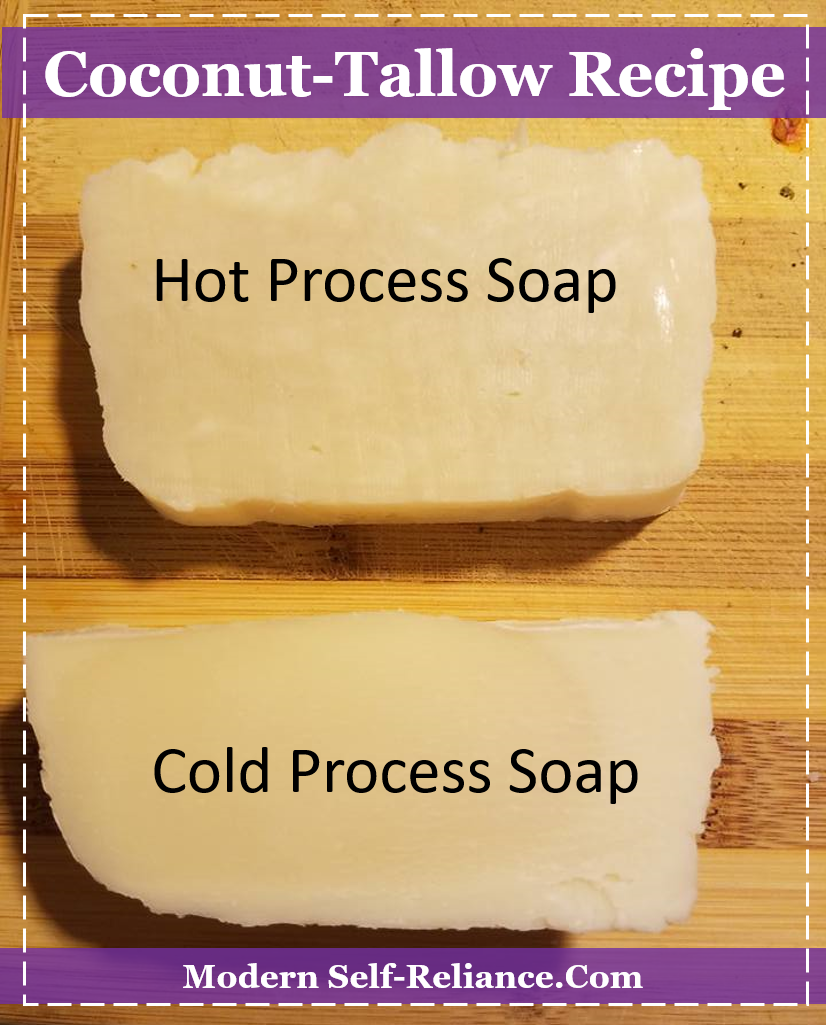
Coconut-Tallow Soap:
For my skin I blend coconut oil into the soap to increase lather and moisturizing properties. I have been using this soap for six months now with no problems. No dry skin or greasy skin. Also no acne outbreaks like I was getting with pure tallow soap. This recipe is 1/3 coconut oil and 2/3 tallow.
Ingredients:
- 16 oz lard/tallow ($0.09/oz)
- 8 oz Coconut oil ($0.47/oz at $6.4/lb)
- 3.47 oz lye ($2/lb)
- 6-8 fl oz of water (free)
This recipes makes approximately 9-10 bars of 2-3 oz each. The costs come out to approximately $0.59 per bar. We use about 1 bar of soap per person per month for our body soap.
Conclusion
If you desire to add the extras (color, fragrances, exfoliants) to your soap, hot process soap is the way to go. The consistency is easier to work with and allows for adding special ingredients like milk or honey. Hot process is not any harder than cold-process soap except it takes the extra step to cook the soap.
10 Simple Steps to Making Cold Processed Soap
