For many people canning is a fun and safe way to preserve garden produce. Canning provides a way to make food shelf stable without risking it going bad before you can eat it.
It also provides food security if the power goes out and food spoils in the fridge, at least your cans are safe to eat.
I may earn a small commission from any link to any products or services from this website. Your purchase helps support my work in bringing you real information about homesteading skills and preparedness.
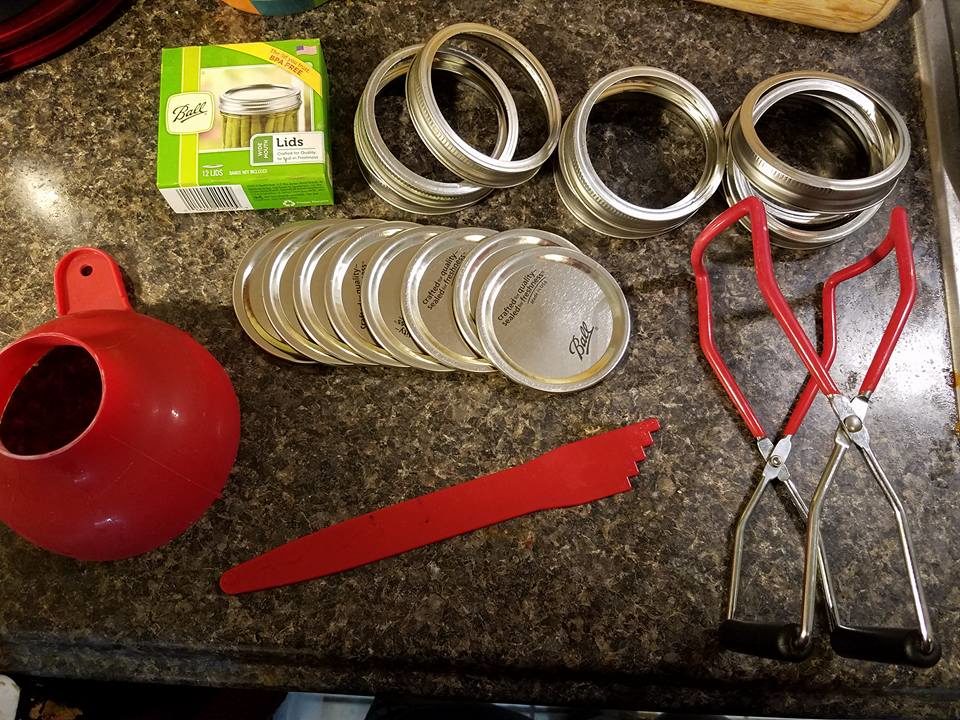
Canning: There are three parts to the basic "can". The glass jar, the metal lid and the metal band. There are two types of jar mouth sizes: Regular and wide mouth.
Some people will say regular is good for pour-able items and wide mouth is better for like beans and chunky things. To me, the real different is wide-mouth jars stack on top of each other and regular mouth jars don't. See my full comparison of wide mouth vs regular cans here.
First things first: Safety
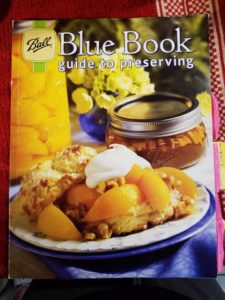
- Find a trusted approved recipe for what you want to can. Some things can be processed using a water bath canner (high acid foods like tomatoes) and some things need to be pressure canned (low acid foods like meat). And some things are not recommended for home canning (like pumpkin). I use the Ball Blue Book Guide to Preserving (Ball Blue Book) You need to know how long to can it for, how many pounds of pressure if pressure caning and the amount of head-space to leave in the jar. See details on pressure canning here.
- Yes, bacteria (like botulism) can grow in an improperly sealed jar. However, using an approved recipe, you know your family will be safe.
- It is NOT recommended that you reuse the metal lids. Once the rubber seal is used for a jar, it cannot be reformed to a new jar. You can reuse the metal bands and you can reuse tattler lids (this is what I mean).
- It is recommended to eat your canned products within a year, this is more for quality sake than safety's sake.
Required Tools
- Large pot
- Canning Jars
- Metal Lid
- Metal Ring
- Basic Canning Kit:
- Jar Lifter
- Headspace Ruler
- Magnet on a stick
- Funnel
- Something to can: Jam!
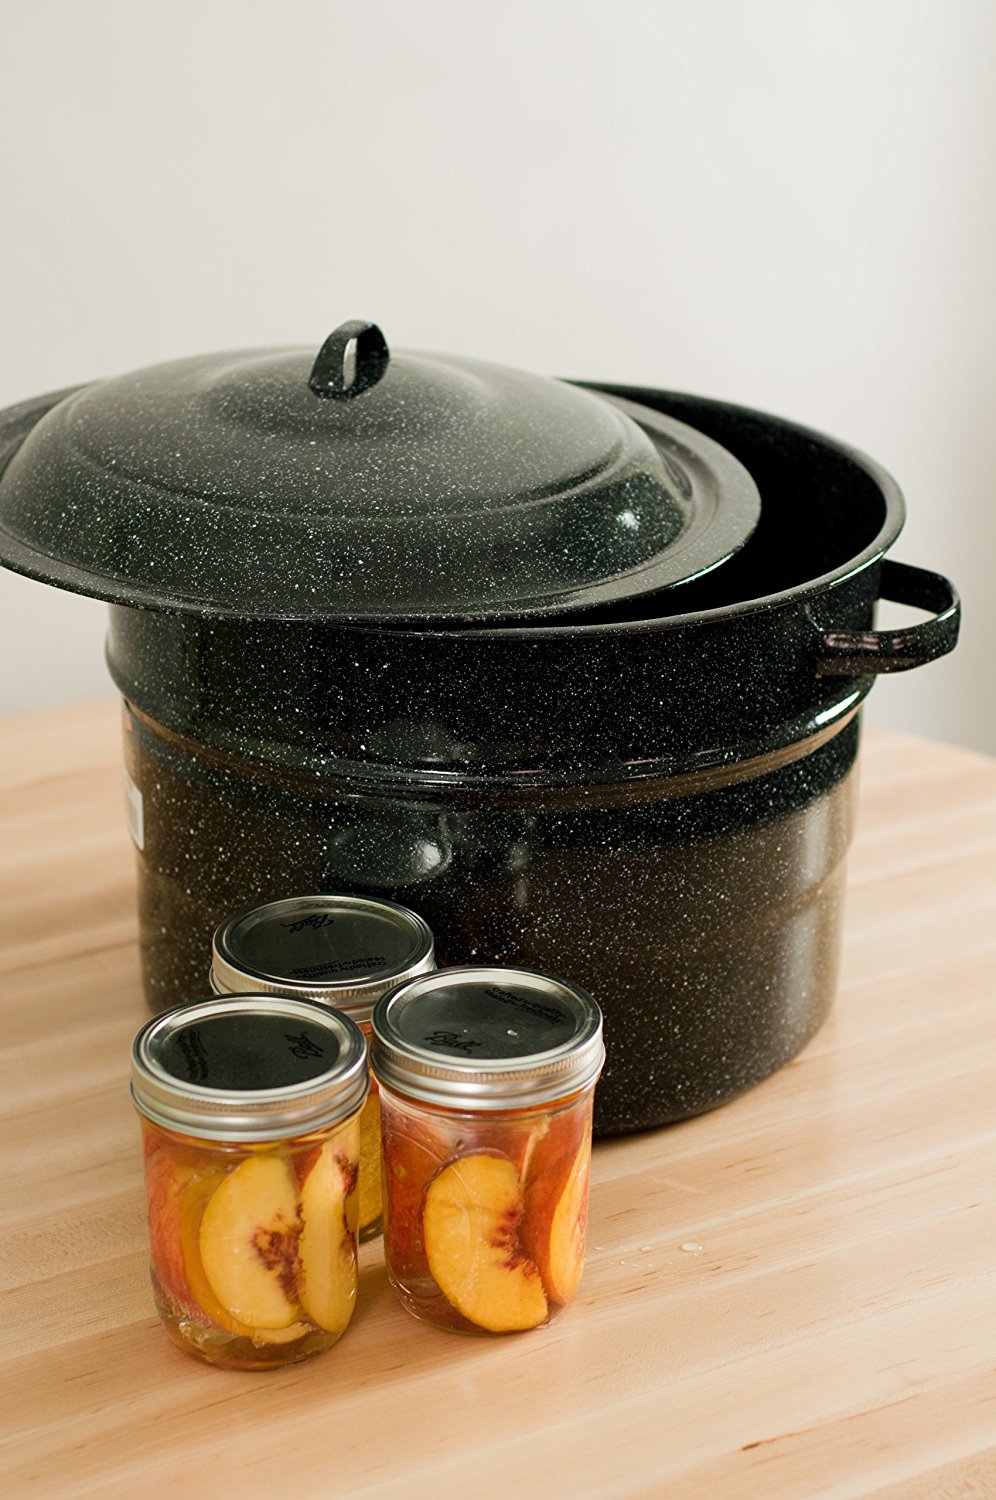
In this post I will cover the most common method of canning with a water bath canner. You will need a really big/tall pot. You can sometimes find these large 22- quart pots at thrift stores or you can buy on Amazon here.
You need glass mason jars designed for canning (Ball jars), a metal lid plus the ring. The jars can be found at dollar stores, Target, Amazon, or sometimes thrift stores. The canning lids and rings can be found on Amazon of course, but also at local hardware and grocery stores.
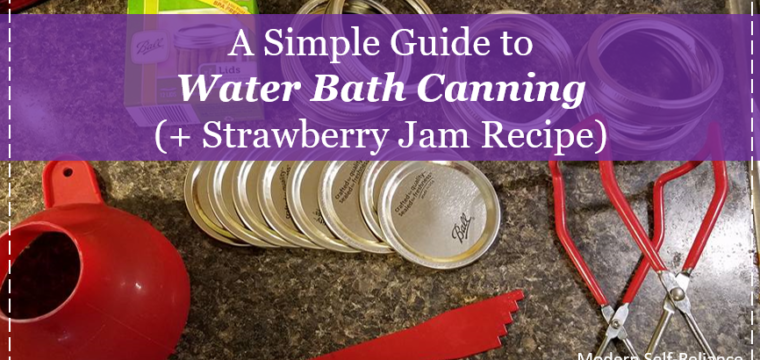
I recommend getting a basic canning kit. It should include a head-space ruler, jar lifter, magnet on a stick and funnel. I use this Canning Kit and it serves my needs well.
Let's get down to business:
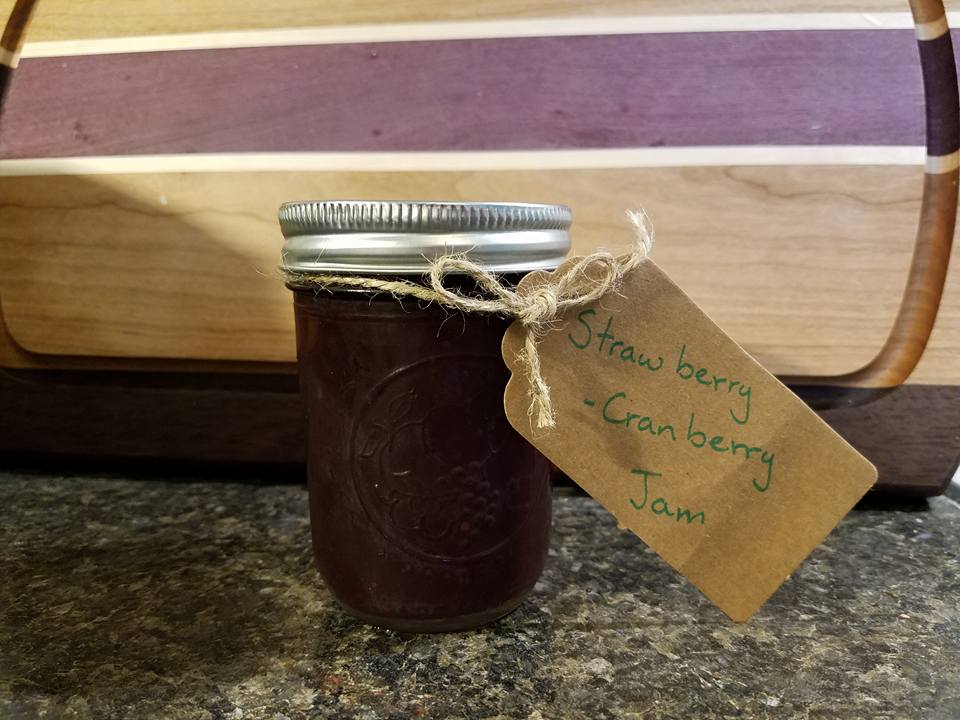
- Choose what you are going to preserve: strawberry jam.
- As you finish cooking the jam, fill your large pot with water. Add the clean jars you plan to use, and enough water cover the jars. Bring to a boil. In the end, you will want 3-4" of water above the jars.
- If you have hard water, like I do, you may want to add a splash of vinegar to the water. The minerals in the hard water can create a film on the outside of your jar. Vinegar will prevent the hazy film on the outside of the jar, purely for aesthetics.
- In a separate pan, put the lids in water and bring to a simmer.
- When the water has been boiling for 10 minutes, remove one jar with your jar lifter. Fill jar with your hot jam using the funnel. Use your head-space ruler to set the proper head space (1/4" for jam), or empty air space in the jar. Too much or too little head space can cause the jar to not seal properly.
- Be sure the rim is clean, wipe if need be. Using your magnet on a stick, get a lid from the simmering pot and center it on your jar.
- Tighten the metal band, to be "finger" tight. Meaning, tighten just enough till it catches. You want it to be tight enough so water doesn't get in, but loose enough to let some air out.
- Return the hot jar back into the boiling water and repeat for all other jars.
- At this point, you should have a boiling pot of water with all cans filled. Check that there is 2-3" of water over the jars. Add more hot water is necessary.
- Keeping boiling for the length given on the recipe, for strawberry jam it says 15 minutes.
- When the time is up, remove jars with tongs from the water. Set the jars in a place out of the way to cool. You should hear the satisfying "ping" as the metal lids are sucked down onto the jar. This means the jar is sealed properly. You can check the seal by pressing down on the lid, if it gives a little, it is not sealed. A properly sealed lid will have no play, and when upended will not leak. The bands may be loose as the lid is sucked down. Do NOT tighten the band when the jar is hot, as it makes it very hard to get off.
Label and store. For storage, you do not have to store the bands on the jars but I find it keeps them all together.
You may want to remove the band and clean any water so the bands don't rust on your jar.
Reusable lids: There is a company, who makes reusable lids called tattler lids. I have not used them, and I have never seen them in stores. The idea is that there is a thicker rubber seal that can be used more than once. They can be purchased through Amazon, which I plan to do and will report back. I have heard the process for preparing these lids is slightly different, but not much more complicated. (Tattler Lids)
Lastly, now that it's late winter and you pull out your summer strawberry jam, how the heck do you open the jar?
- Remove the metal band.
- Put a rag over the top of the can, and grip the can from the top. Do NOT grip the can like you are opening a jar of pasta sauce on the side.
- With a butter knife (not a sharp knife), find a spot on the jar where the lid hangs out slightly. There will be easier and harder spots to open from.
- Wedge the knife up under the seal and twist gently until you hear the seal break and air is sucked in.
- Remove the rag and you should be able to lift off the lid.
Why do I recommend this method? When your knife to breaks the seal the pressure from the knife is upwards. If you do not have your hand on the top of the jar, when you break the seal the lid is also under pressure and it will fly (!) off your can, splattering the contents everywhere.
That's all folks. What are you hoping to can this coming garden season? What special recipes would you love to see or share?
Ready to take your canning to the next level? Check out how to pressure can next ----- No Fear Pressure Canning -----
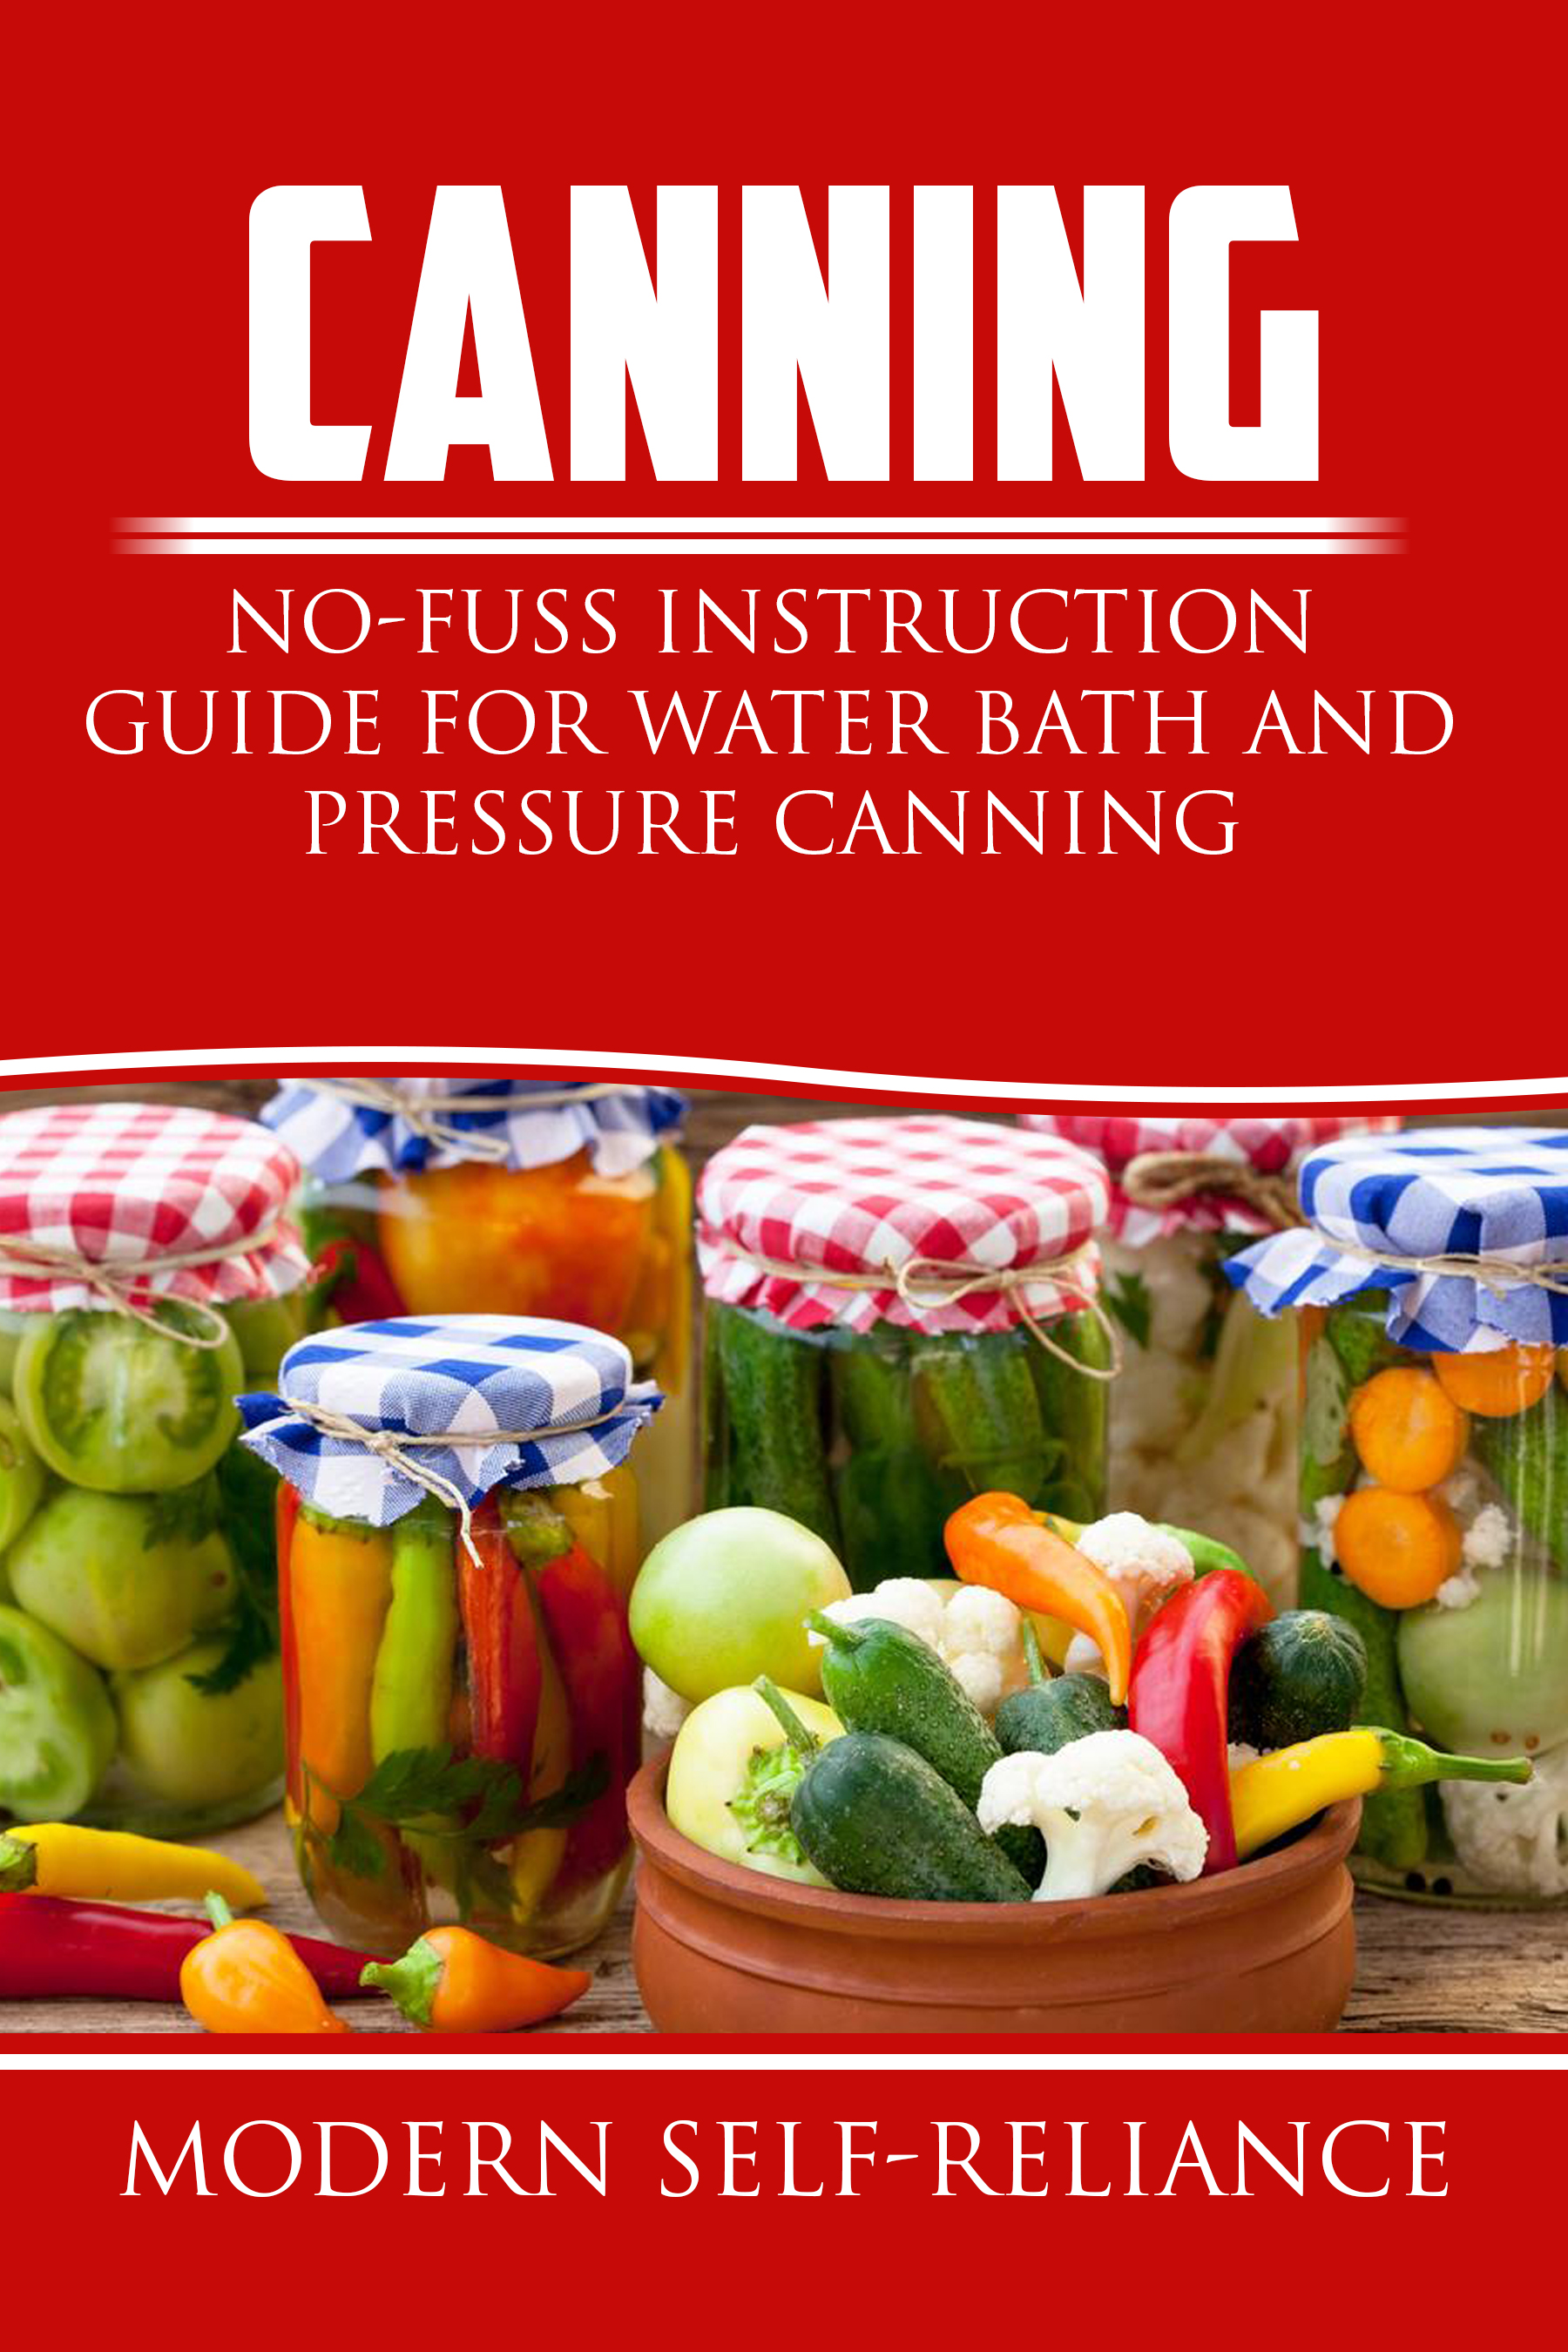
Quick Reference Guide to Canning
Available through Kindle
- Chapter 1 Deciding between a Water-bath or Pressure Canner
- Chapter 2 How to use a Water-bath Canner
- Chapter 3 How to use a Pressure Canner
- Chapter 4 Common Canning Mistakes
- Chapter 5 Canner Specifications
- Chapter 6 Additional Tools
- Recipes
